Preserving a spider in resin can be accomplished by following a step-by-step process. Initially, the spider should be carefully positioned and encased in a resin mold.
Then, a clear epoxy resin should be poured over the spider to create a protective coating. Once the resin has fully cured, the preserved spider can be displayed as a unique decorative or educational tool. Maintaining a spider in resin requires attention to detail and patience but can result in a stunning and long-lasting piece.
Whether you are a nature enthusiast or simply interested in unique crafts, preserving a spider in resin can be a fascinating and rewarding project.
Credit: www.craftklatch.com
Material And Tools Needed
Preserving a spider in resin is a fascinating process that allows you to capture the intricate details of the specimen. To successfully maintain a spider in resin, you will need a few essential materials and tools. First and foremost, you will need resin, which acts as the preserving medium. It is necessary to wear gloves and protective eyewear to ensure your safety while handling the resin.
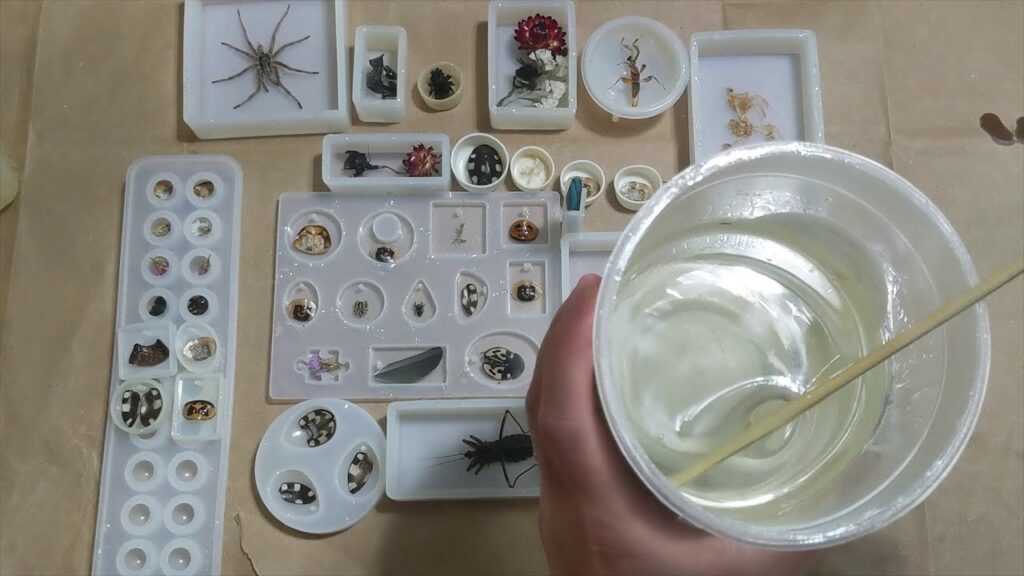
In addition to resin, you will also need a spider specimen. Make sure the spider is small enough to fit in the container you will be using. Speaking of containers, a small container that can hold the spider and resin is essential for this project. The container should be clear, allowing you to see the spider from all angles once it is preserved.
In terms of tools, you will need measuring cups to accurately measure the resin and a stir stick to mix the resin properly. These tools ensure that you achieve the right ratio of resin and hardener for the preservation process. Now, you are ready to embark on the exciting journey of preserving a spider in resin!
Preparing The Spider
Select a spider specimen: Begin by choosing a spider for preservation in resin. Be sure to opt for a deceased spider, as live spiders should not be used in this process. Look for a spider that is intact and in good condition, preferably one that has not been damaged.
Clean the spider (optional): It is optional to clean the spider before preserving it in resin. If you decide to clean the spider, do so gently and cautiously. Use a soft brush or compressed air to remove dust or debris from the spider’s body. Take care not to damage the delicate features of the spider.
Position the spider for better presentation: Before proceeding with the preservation process, position the spider in a way that enhances its presentation. Consider the desired angle and arrangement of the spider. Experiment with different positioning options until you are satisfied with the result. This step will help create an aesthetically pleasing display of the preserved spider.
Preparing The Resin Mixture
When preserving a spider in resin, it is essential to choose the appropriate resin type. Make sure to read and follow the resin instructions provided by the manufacturer. This will ensure that you use the resin correctly and that the preservation process goes smoothly.
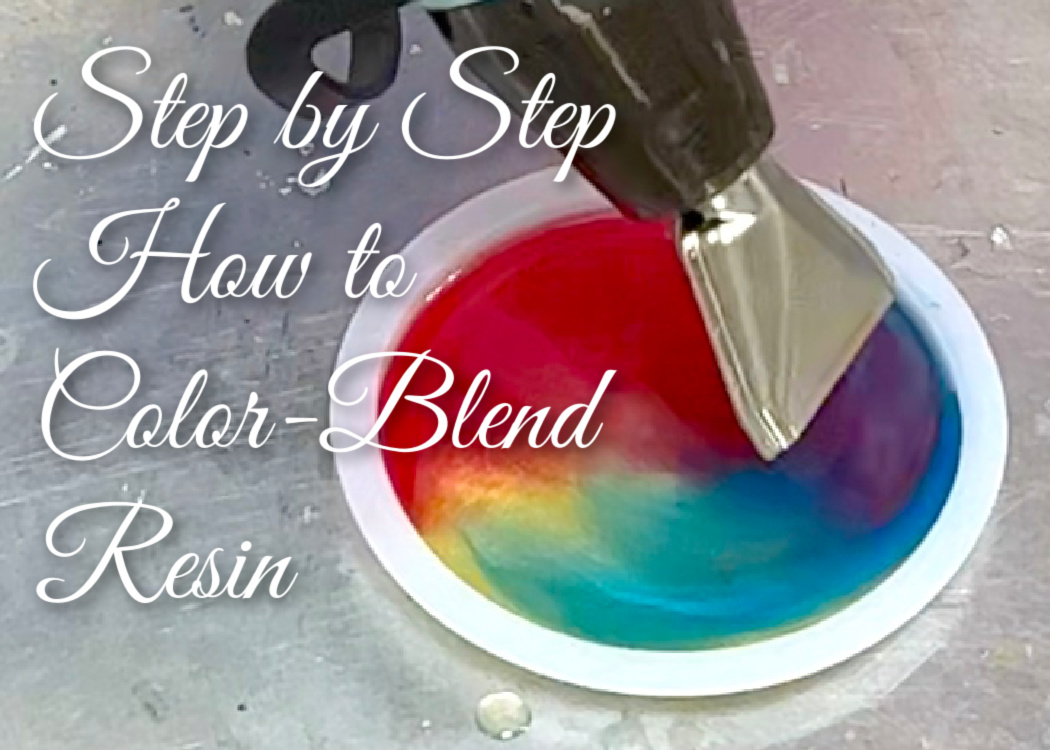
Before mixing the resin, gather all the necessary materials and equipment. Once ready, prepare the resin mixture according to the instructions. Measure the resin and hardener in the correct ratio and mix them thoroughly. You can also add desired colors or effects to create a visually appealing result.
Take your time to mix the resin to avoid any bubbles carefully. Bubbles can ruin the final product and affect the clarity of the resin. After preparing the resin mixture, you’re now ready to move on to the next step of preserving the spider in resin.
Pouring The Resin
Preserving a spider in resin is an intricate process that requires careful attention to detail. When pouring the resin, it is essential to handle it with caution to avoid any damage to the delicate spider. Place the spider in a container that is suitable for resin preservation. Ensure the container is clean and free from debris that may interfere with the resin curing.
Once the spider is securely positioned in the container, slowly pour the resin mixture. Take note to pour the resin evenly and cover the spider completely. In the pouring process, it is crucial to remove any air bubbles that may have formed. To ensure a smooth and precise finished product, carefully and patiently eliminate any visible air bubbles.
After pouring the resin, allow it to cure undisturbed. This will typically take several hours or days, depending on the specific resin used. It is essential to follow the curing time recommendations provided by the manufacturer. Following these steps, you can successfully preserve a spider in resin and create a captivating keepsake.
Finishing Touches
After preserving a spider in resin, your project is almost complete. To add the finishing touches, trim any excess resin that may have accumulated during the process. Use a sharp utility knife or scissors to remove any unwanted bits carefully.
Next, it’s time to sand and polish the resin surface for a smooth, glossy finish. Begin with a coarse sandpaper to remove any rough edges or imperfections. Gradually move to finer grits until the surface is perfectly smooth.
Adding finishing touches can elevate the overall look of your preserved spider. You may consider incorporating decorative elements, such as glitter, paint, or small embellishments that suit your aesthetic preferences. Be mindful of the size and placement to avoid overshadowing the main attraction.
Finally, seal the resin to protect your preserved spider and ensure its longevity. Apply a clear, protective resin or varnish suitable for your specific project. Follow the manufacturer’s instructions for application and drying times.
Displaying And Preserving The Resin Spider
- Choose a display case or shadow box to protect the resin spider.
- Consider using a clear acrylic stand or mount to showcase the spider.
- Place the display in a well-lit area to highlight the spider.
- Avoid direct sunlight, as it can cause discoloration.
- Maintain a stable room temperature and humidity level to prevent damage to the resin.
- If not on display, store the resin spider in a dust-free container.
- Use soft padding, such as cotton or foam, to prevent movement or damage during storage.
- Check for any signs of discoloration, deterioration, or damage.
- Clean the display case or shadow box regularly using a soft cloth to remove dust.
- Avoid using harsh chemicals that can potentially damage the resin or spider.
Frequently Asked Questions
How Do You Preserve A Spider In Resin?
To preserve a spider in resin, first, catch the spider and make sure it is deceased. Then, carefully place the spider in a mold filled with resin. Allow the resin to harden completely, and then remove it from the mold.
Your spider will now be preserved in resin for display or collection.
What Kind Of Resin Should I Use To Preserve A Spider?
For preserving a spider, it is best to use a clear two-part epoxy resin. This resin type is ideal as it provides a durable, glossy, and transparent finish. Follow the manufacturer’s instructions regarding mixing ratios and drying times for the best results.
How Can I Ensure The Spider Is Properly Positioned In The Resin?
To properly position the spider in resin, use a pair of tweezers or small tools to carefully place the spider in the desired position within the mold. Take your time and make adjustments as needed before the resin starts to harden.
Ensure the spider is fully submerged in the resin to prevent air bubbles.
Can I Preserve Other Insects Or Animals In Resin?
Yes, you can preserve various insects and small animals in resin using the same process. However, it’s important to check local laws and regulations regarding the collection and preservation of certain species. Additionally, it is recommended to research proper preservation techniques to ensure the best possible result.
Conclusion
Preserving a spider in resin is a unique way to showcase its intricate beauty and create a lasting keepsake. By following the step-by-step instructions outlined in this blog post, you can confidently embark on this fascinating craft project. Remember to adhere to safety precautions and be patient throughout the process.
Enjoy the rewarding experience of preserving nature’s wonders in resin, creating a mesmerizing piece of art that will be admired for years.